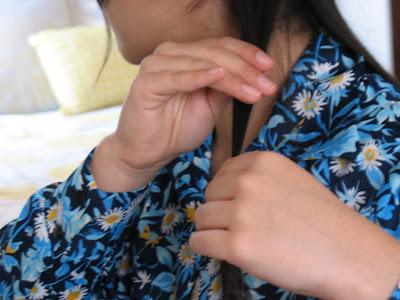
This is our FIRST tutorial ever so we are very excited and a little nervous. So without further ado, here it is! *We are in need of a new camera so please bear with us as the photos may be a little blurry*
Here is an easy way to get the look of glamorous waves inspired by the 1940s. This method has been used a lot in adverts--magazines especially. Though the method is not authentic, it is very accessible for the modern girl who desires a simple vintage look. With practice, you can do this fairly quickly. Depending on your hair texture and the amount of hairspray you use, this style should last all day (and in her case two).
Here is an easy way to get the look of glamorous waves inspired by the 1940s. This method has been used a lot in adverts--magazines especially. Though the method is not authentic, it is very accessible for the modern girl who desires a simple vintage look. With practice, you can do this fairly quickly. Depending on your hair texture and the amount of hairspray you use, this style should last all day (and in her case two).
HELPFUL TIPS:
*When winding strands, don't hold too tight to avoid dents
*Apply serum before hairspraying finished comb-out
*If sides aren't symmetrical, clip all hair to one side with Bobby Pins
*Don't use a fine-tooth comb to comb out curls--this will take out the definition and it won't stay as long.
*You can also deepen the creases of the wave by lightly pressing the barrel of your iron into each wave
Vera's hair is naturally straight with bangs...
1. DIVIDE FIRST SECTION OF HAIR
Start from the nape area and section with the rattail comb (or your fingers) about a 1" thick straight part from ear-to-ear. Clip the rest of hair up out of the way.
2. SECTION A 1" STRAND
Spray this piece of hair evenly. This will be your first curl.
*Our sections are a little larger--use smaller sections for more control*
Using a comb or your fingers to distribute hair spray
(See Below)
4. WRAP
Wind the strand of hair you sprayed around your curling iron. Make sure to wrap each section of hair the same direction each time. This is important-you want all the curls to wave in the same direction.
5. HOLD
Once the hair strand is completely wrapped around the iron, hold it at least for 5 seconds so the spray can harden. Depending on the heat and your hair texture, you can decide if you wish to keep it wrapped longer.
COMPLETED CURL
7. COMPLETED ROW
Continue curling untill you have a row. Don't worry if you need to make more curls to finish your row.
8. SECTION NEXT ROW
Bring down a new section of hair for your next row of curls.
Curl the next row like the first. Cleaner partings will make it easier. If the partings aren't perfect-don't worry! Just make sure they are as even as possible.
Vera has a center part and bangs, so we kept it the same. Most girls like to part their hair to the side. If you choose to do this, just continue curling. Your heavier side will have some hair left even though the other side ran out.
11. CURL CROWN
Continuing in the same direction wrap your strands. When sectioning, keep the partings the same direction. Going sideways will mess up the finished outcome!
Don't tire out--this top layer should be set well.
12. FINISHED CURLS!
13. COMBOUT
Use a wide tooth comb to brush throght and get the crispiness of the spray out. Don't use the fine teeth--this will weaken your set. *If
you used little to no spray, skip this step*Use a brush with bristles to smooth and blend the curls together. Natural or natural-blend bristles work best but work with what you have. Brush untill the curls relax into a wave. Take care to not flick the brush out when brushing through. This will frizz the wave and make it harder to blend.
15. SMOOTH WAVE
Work the wave with your fingers and smooth with your brush.
16. TURN ENDS UNDER
If the ends of the wave flip out, use the curling iron to turn the ends under.
17. FINISHING TOUCHES
If needed, use a pea-drop of serum to smooth flyaways and lightly mist with hairspray.
*You can also deepen the creases of the wave by lightly pressing the barrel of your iron into each wave.*
I hope this tutorial made sense and inspired you. If anyone tries it, feel free to share the results!
--Viola


Lovely tutorial, ladies! This is so easy, yet looks so wonderful. Thanks for the tips!
ReplyDeletexoxo,
Tina